
👤 How-To Guide: The Users Section
This section is the administrative hub for managing all user accounts. This is where you invite new users, assign them to groups, and control which facilities they can access.
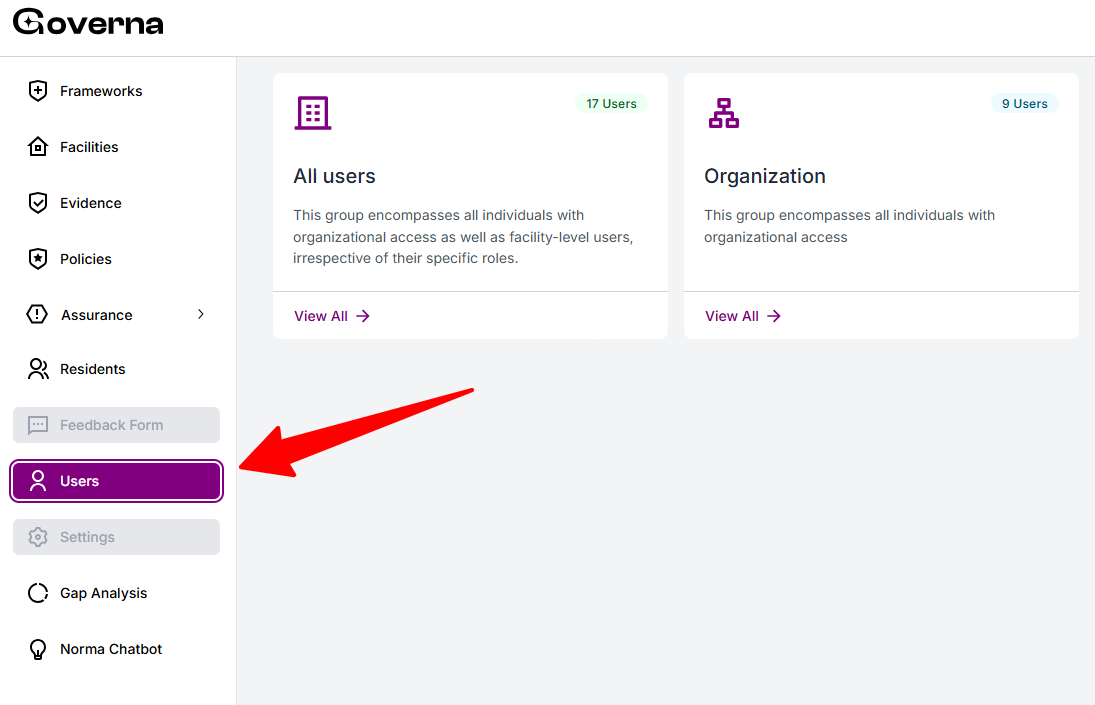
1. How to Access the Users Section
- Step 1: On the left-hand navigation bar, click the "Users" link. It is highlighted in purple and has an icon of a person.
2. How to Navigate the Main User Groups Page
Clicking "Users" takes you to a page with four cards. These cards are your main user categories:
- All users: "This group encompasses all individuals with organizational access as well as facility-level users, irrespective of their specific roles".
- Organization: "This group encompasses all individuals with organizational access".
- Facility Manager: "This group includes all facility managers".
- Facility User: "This group includes all facility users".
Each card shows the number of users in that group (e.g., "17 Users," "9 Users") and has a "View All" link to see a detailed list.

3. How to View and Search a User List
- Step 1: From the User Groups page, click "View All" on a card (e.g., "All Users" or "Facility Managers").
- Step 2: This opens a complete list of users in that group, showing details like their Name, Status, Date Joined, and Last Logged In.
- Step 3: On this list page, you can:
- Search: Use the bar at the top to "Search user with name or email".
- Filter: Click the filter icon (three horizontal lines) to narrow your list.
- Invite: Click the purple "+ Invite new user" button to add someone new.
4. How to Invite a New User
- Step 1: Click the "+ Invite new user" button from any user list page.
- Step 2: This will open the "Invite User" pop-up window.
- Step 3: Fill in all the required (marked with a red *) fields:
- First Name
- Last Name
- Display Name
- Step 4: Click the "User Group *" dropdown and select a role for the user, such as "Facility Manager," "Facility User," or "Organization".
- Step 5: Click the purple "Invite User" button to send the invitation.
5. How to Manage an Existing User's Permissions
- Step 1: From any user list (e.g., "All Users"), click on a user's name (e.g., "Organization FE") to manage their profile.
- Step 2: This takes you to the user's "Permissions" page. This page shows their profile details (Role, Status, Date Joined) and a list of facilities they are currently assigned to (e.g., "Facility 01").
- Step 3: To Deactivate a User
- Click the red "Deactivate user" button to revoke their access.
- Step 4: To Edit Facility Access
- Click the purple "Edit permission" button.
- This opens the "Edit Permissions" page, which shows a list of all available facilities.
- Check the box next to a facility (e.g., "Facility 01") to grant the user access.
- Uncheck the box to revoke access.
- Click the purple "Save" button to confirm your changes.
Share Article